If you love smoky, juicy, and flavorful tandoori chicken but don’t have an oven or tandoor at home, this recipe is perfect for you. This stovetop tandoori chicken delivers authentic restaurant-style taste with a delicious charred finish. The secret lies in double marination and slow cooking, which makes the chicken tender, spicy, and extremely flavorful.
This recipe is simple, beginner-friendly, and perfect for family dinners or gatherings.
Servings: 3–4 People
Prep Time: 20–25 minutes (excluding marination time)
Cooking Time: 30–35 minutes
Ingredients
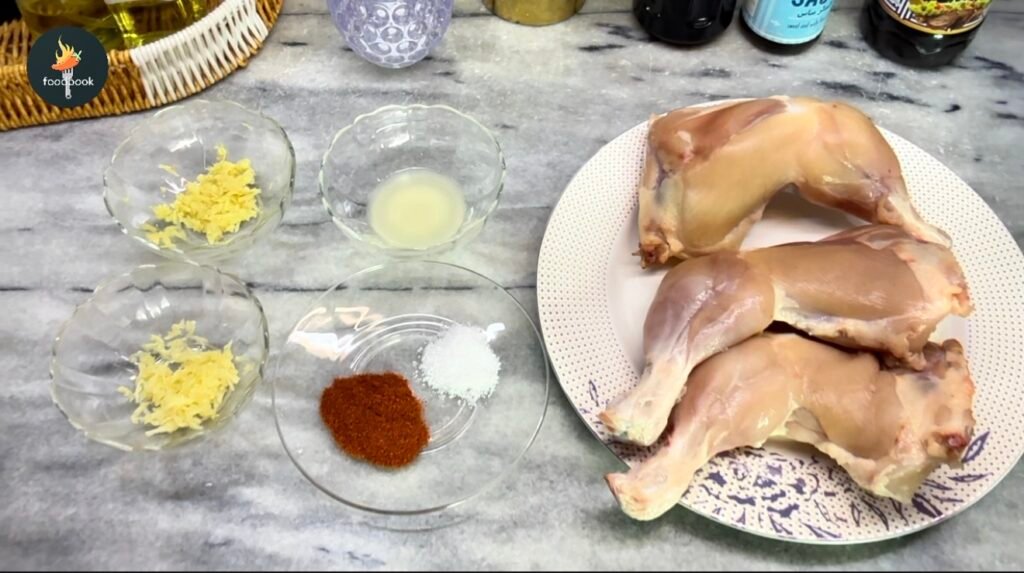
First Marination
-
750g chicken (leg and thigh pieces)
-
½ tsp salt
-
1 tbsp lemon juice
-
1 tbsp ginger paste
-
1 tbsp garlic paste
-
1 tsp red chili powder

Second Marination
-
2 tbsp yogurt
-
½ tsp red chili powder
-
1 tsp dried coriander powder
-
¼ tsp turmeric powder
-
½ tsp salt
-
½ tsp ginger powder
-
½ tsp garlic powder
-
½ tsp onion powder
-
1 tsp paprika powder
-
¼ tsp chaat masala
-
½ tsp black pepper powder
-
2 tbsp vegetable oil
-
¼ tsp crushed kasuri methi
Step-by-Step Instructions
Step 1: Prepare the Chicken
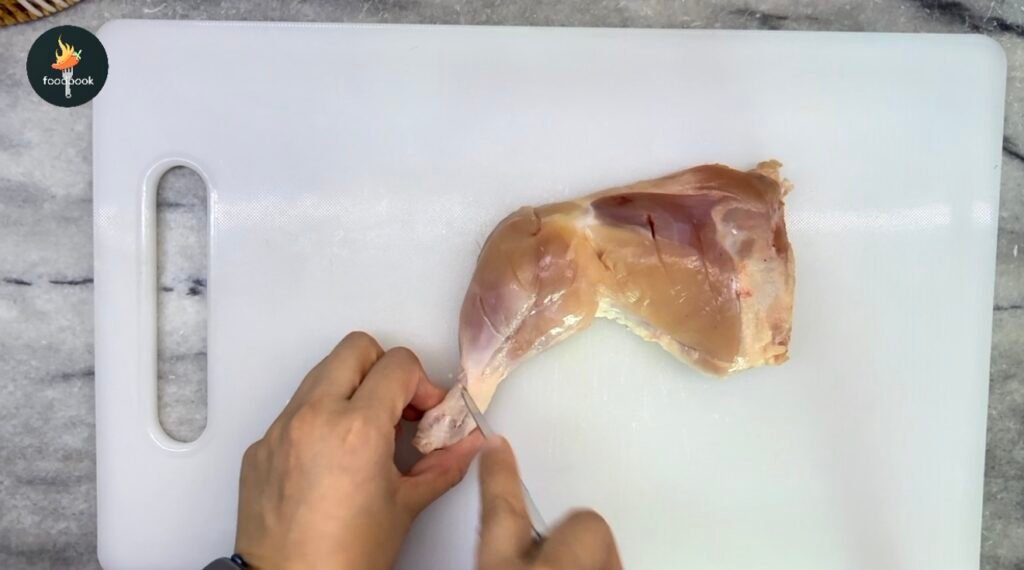
Wash the chicken leg and thigh pieces thoroughly. Using a sharp knife, make deep cuts on the chicken pieces. Make sure to cut at the joint of the leg and thigh and also at the bottom tendon of the leg. This helps the marinade absorb better and makes the chicken juicy.
Step 2: First Marination
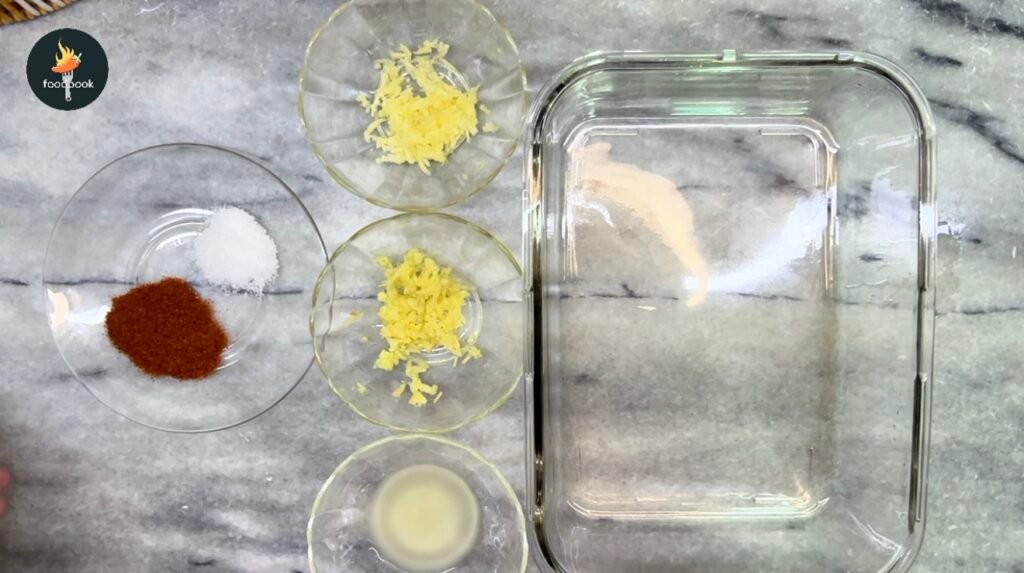
In a mixing bowl, add lemon juice, ginger garlic paste, salt, and red chili powder. Mix well until combined.
Apply this marinade evenly on all chicken pieces. Cover and refrigerate for 10–15 minutes.
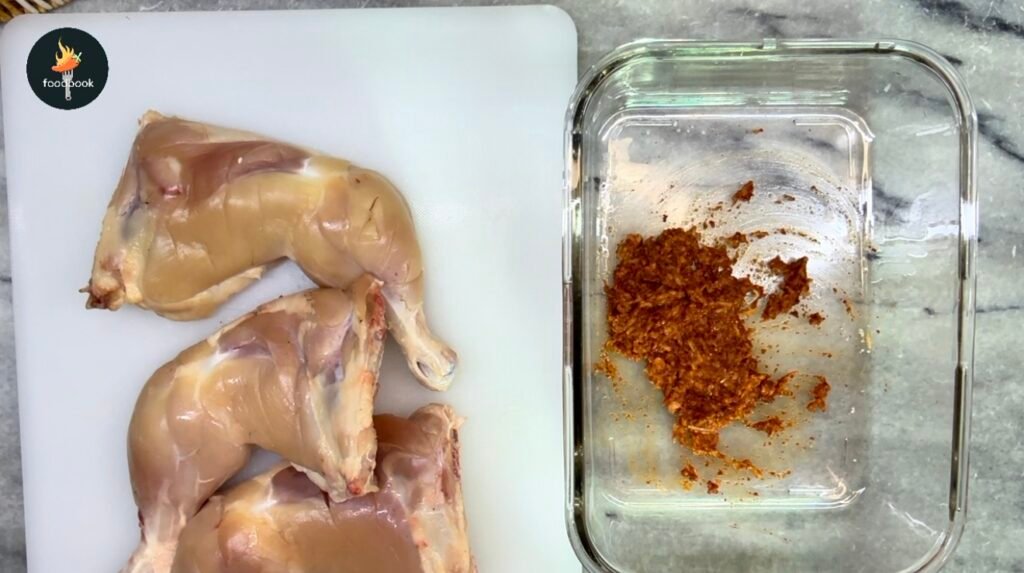
Step 3: Second Marination
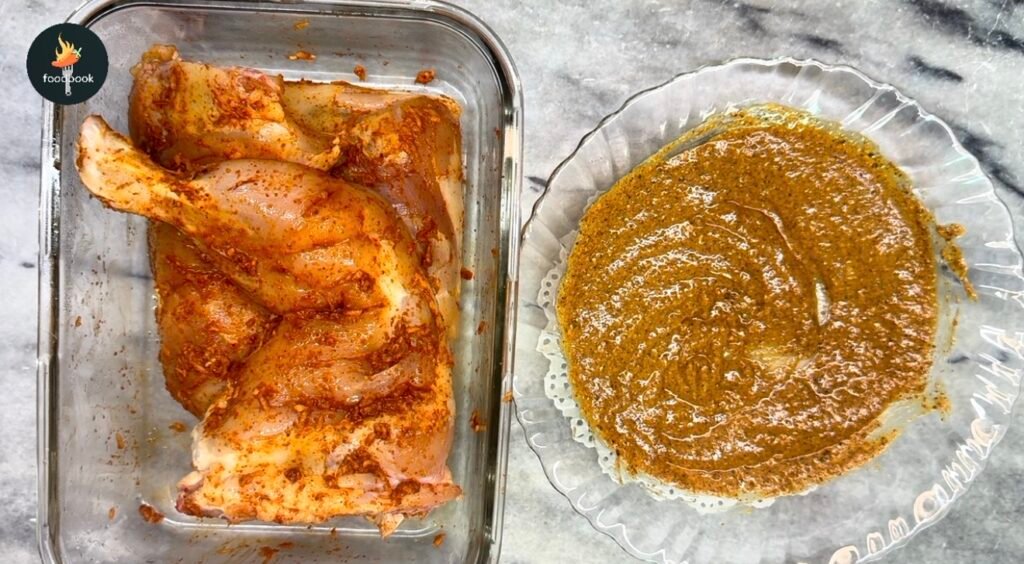
After the first marination, remove any excess water released from the chicken.
In another bowl, add yogurt, oil, and all the spices listed under second marination. Mix thoroughly until smooth and lump-free.
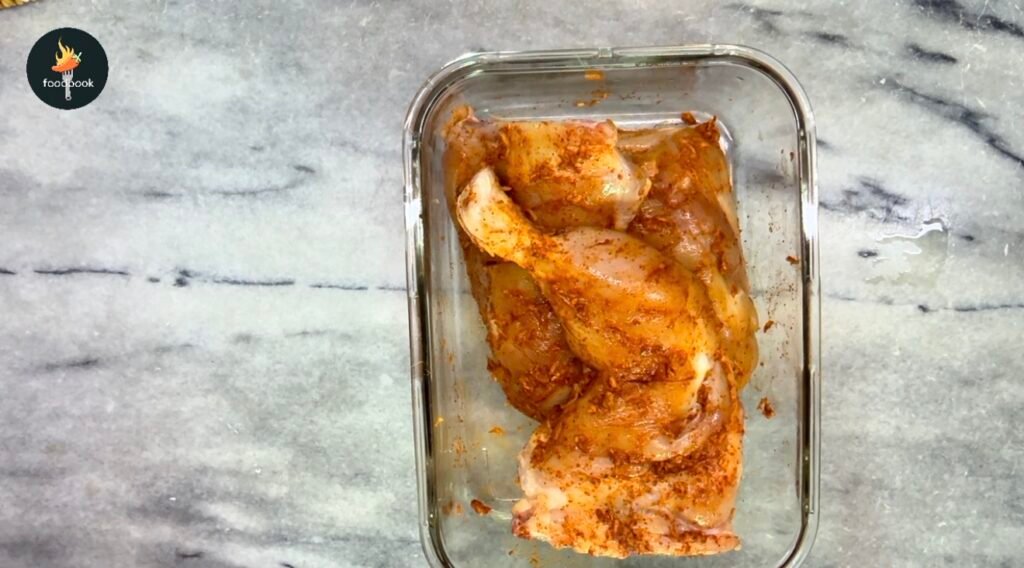
Coat each chicken piece generously with this marinade. Cover and refrigerate for 6 hours or overnight for best results.
Step 4: Cook the Chicken

Preheat a grill pan on low flame. Place the marinated chicken pieces on the pan and cook for 20–25 minutes without covering the lid.
Then cover the pan with a lid and cook for another 10–15 minutes on low flame.
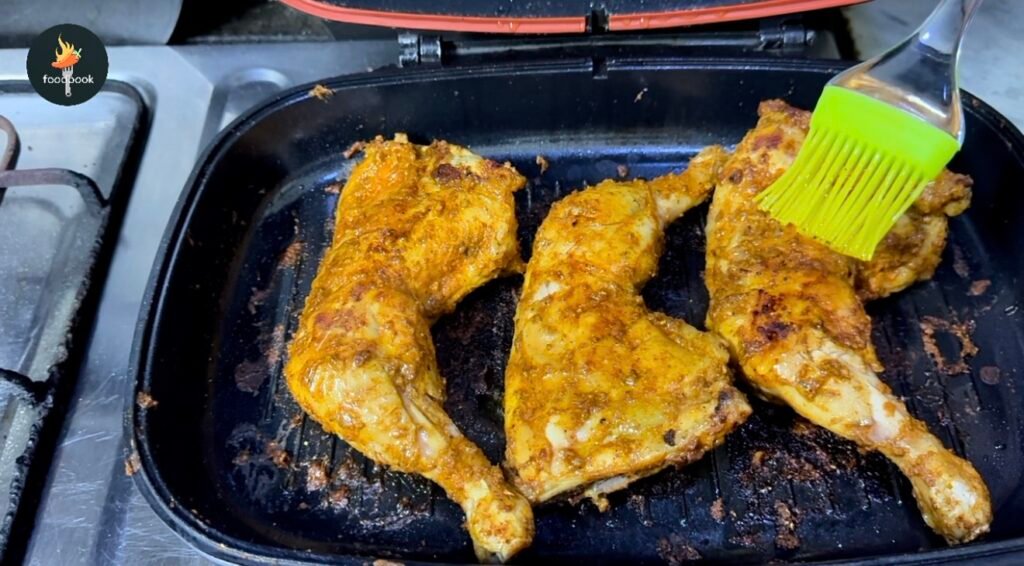
Brush melted ghee on the chicken pieces and cook for an additional 5 minutes without the lid. This enhances the flavor and gives a rich finish.
Step 5: Create the Tandoori Effect
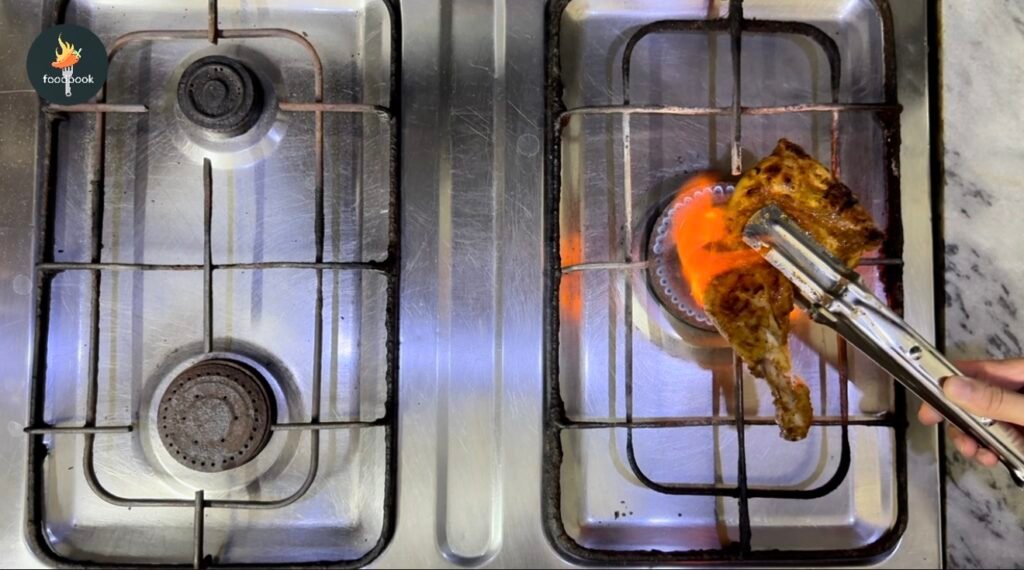
For an authentic tandoori smoky texture, place the chicken pieces directly on the stove flame on medium heat. Turn them carefully to char both sides until you achieve the classic tandoori color and texture.
Step 6: Serve

Transfer the chicken to a serving plate. Sprinkle chaat masala and fresh lemon juice on top.
Serve hot with:
-
Green chutney
-
Onion slices
-
Your favorite dipping sauce
Enjoy your homemade stovetop tandoori chicken!
Tips for Perfect Tandoori Chicken
- Always make deep cuts so marinade penetrates well
- Overnight marination gives the best flavor
- Cook on low flame to keep chicken juicy
- Brushing ghee adds restaurant-style aroma and taste
- Direct flame roasting gives authentic smoky flavor
Takeaways
If you enjoyed this smoky and juicy stovetop tandoori chicken, make sure to explore more of our popular chicken recipes that are loved by our readers. Don’t miss trying our creamy and melt-in-the-mouth Chicken Malai Boti, the bold and tangy Achari Chicken packed with desi flavors, and the all-time favorite Chicken Karahi that makes every family meal special. These recipes pair perfectly with naan, roti, or paratha and are great options for everyday cooking as well as special gatherings.
At Foodbook, we aim to bring you simple, authentic, and easy-to-follow recipes that help you recreate restaurant-style dishes at home. Try this recipe, share your experience in the comments, and let us know how it turned out. Keep visiting Foodbook for more delicious recipes, cooking tips, and kitchen inspiration that make home cooking enjoyable and stress-free.